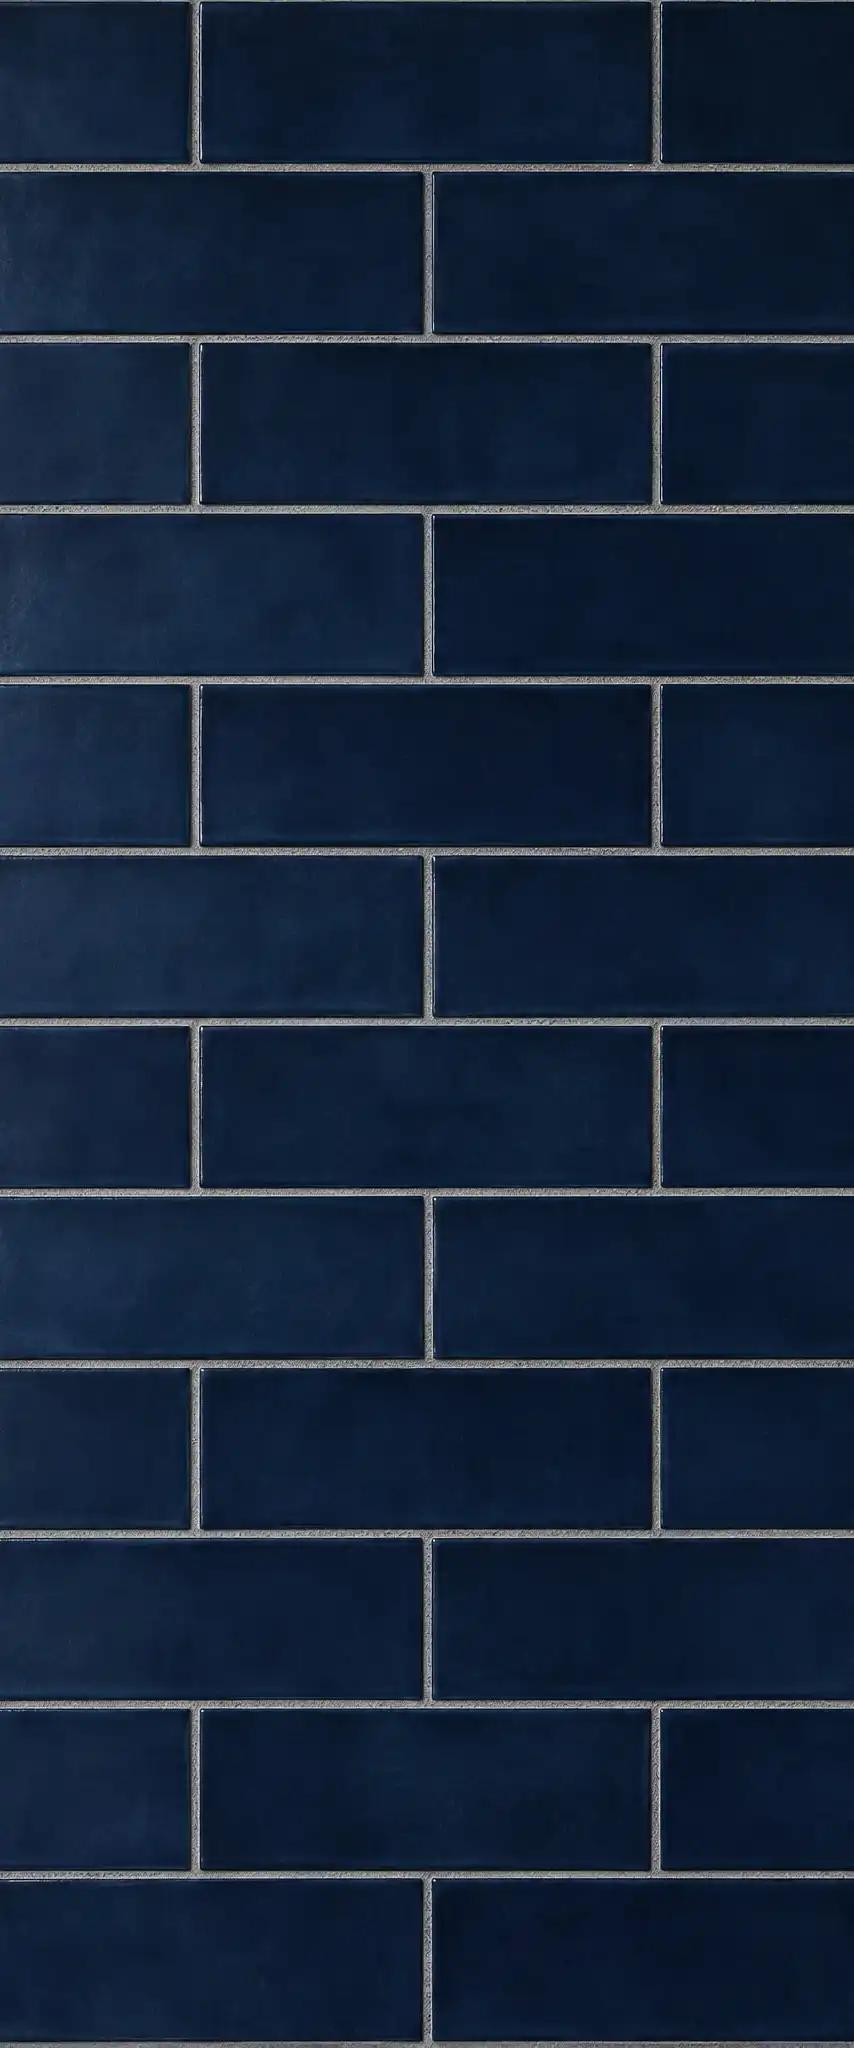
A tiled shower is the most demanding tile job in a house. Every surface gets wet daily, every corner is a potential leak and the floor has to slope to the drain without looking like it does. Done right, it is the best part of the bathroom. Done wrong, it rots the wall from the inside while still looking fine.
We install shower tile in Arlington and across Northern Virginia on a properly prepared, waterproofed base, with a layout you approve before we begin.
What Goes Into a Tiled Shower
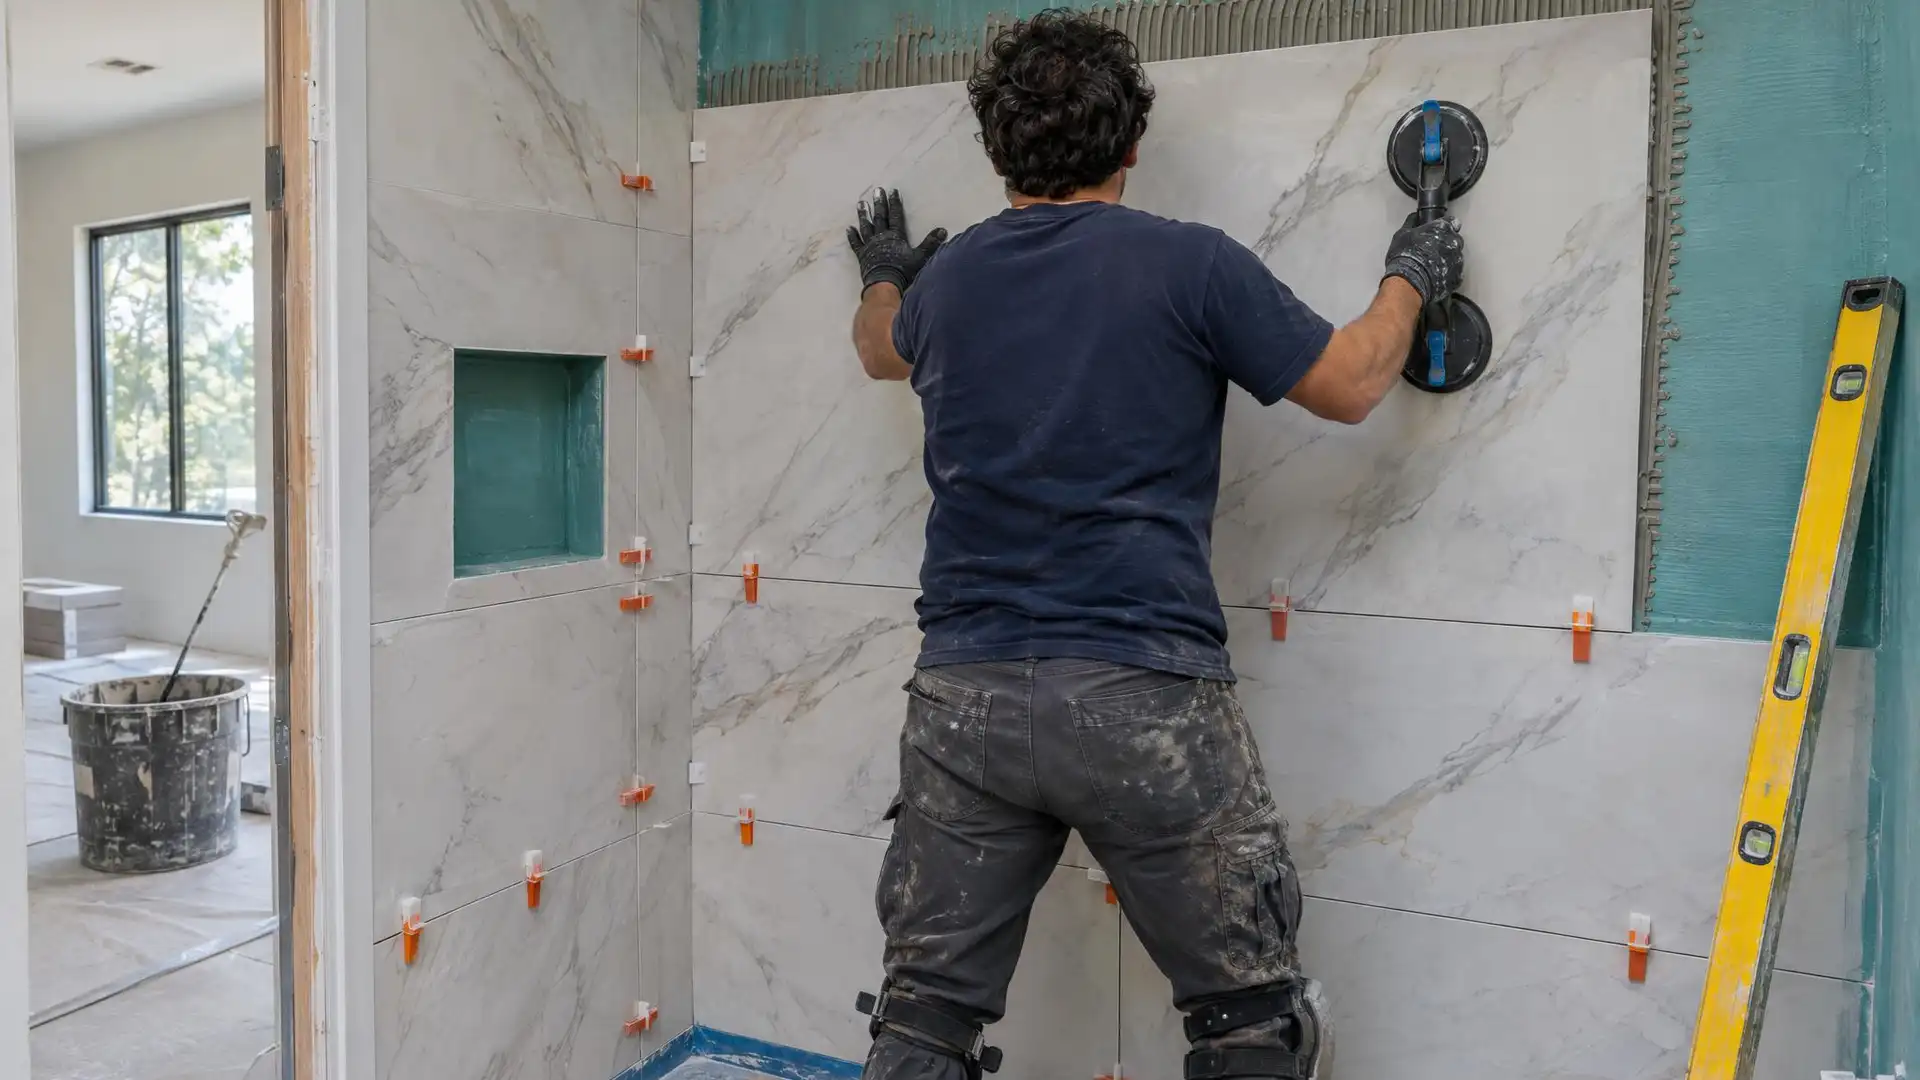
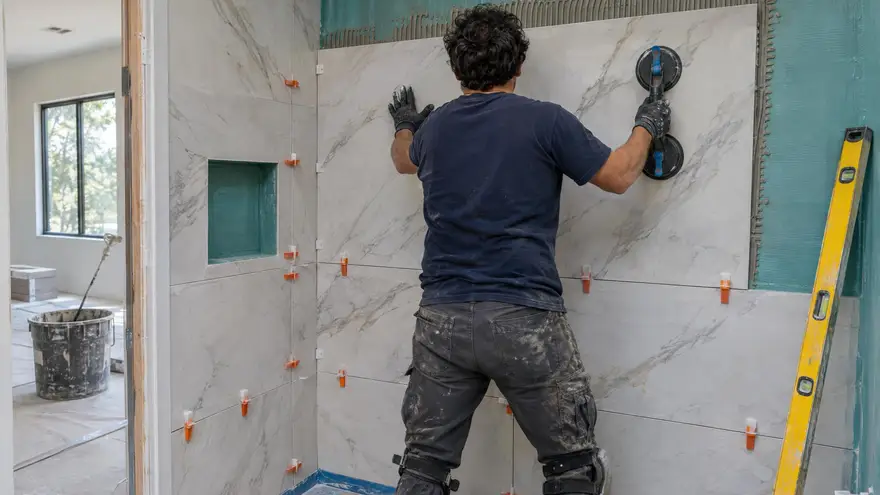
We start by taking the shower back to the studs and checking framing, plumbing and the subfloor. Walls get cement or foam backer board, never regular drywall. The floor gets a sloped shower pan, and the whole enclosure is covered in a continuous waterproofing layer that ties into the drain.
After a flood test, tile is set from a level line with the mortar coverage wet areas require. Corners and the joint at the floor are finished in flexible silicone, not grout, so normal movement does not open them up.
Layout Decisions We Make With You
Small choices change how a shower looks. We mark these out on the wall before setting anything.
- Where full tiles start and where cuts land, so you do not get a sliver at the ceiling or in a corner
- Pattern: stacked, offset, vertical or herringbone
- Height and position of niches and benches so grout lines run through them cleanly
- Edge finish: metal profile, bullnose or mitered corners
- Grout color and joint width
What Affects the Cost
Size is only part of it. Large-format tile, natural stone, mosaics and patterns such as herringbone take longer to set. Niches, benches, a tiled ceiling and a curbless entry add labor. So does repairing framing or plumbing found behind the old walls. Your estimate breaks these out so you can see where the money goes.
Need something else? See all of our bathroom tile installation services, or learn more about your local tile contractor in Arlington, VA.